
Take a second and sit inside your car without rushing. Look around properly. You will probably notice small things you usually ignore. Dust on the dashboard, crumbs hiding between seats, maybe even a smell you have stopped paying attention to.
This does not happen overnight. It builds slowly, which is why most people do nothing about it until the interior starts to feel uncomfortable.
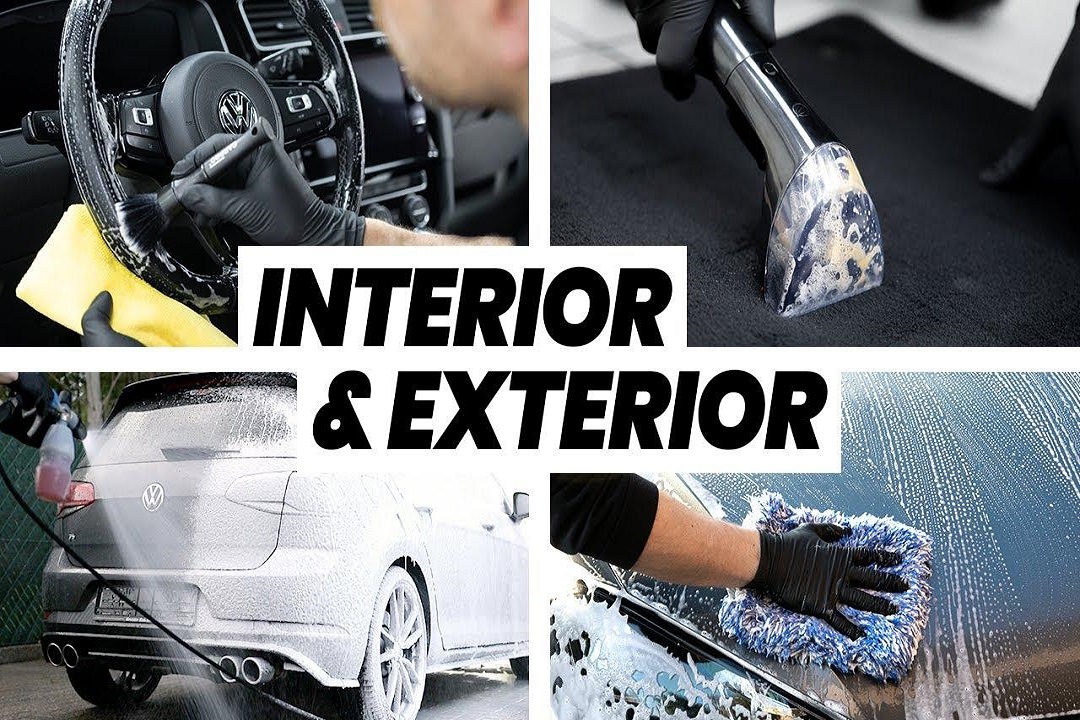
Here is something many beginners do not realize. A properly detailed car interior does not just look clean. It feels different. The air feels fresher, surfaces look newer, and driving becomes more enjoyable.
The best part is that you do not need expensive equipment or professional help to get started. If you have been thinking about how to detail a car at home without making mistakes, this guide will walk you through everything simply and practically.
What Interior Car Detailing Actually Means
A lot of people think detailing just means vacuuming and wiping surfaces. That is only a small part of it.
Real interior detailing focuses on three main things:
- Removing deep, hidden dirt
- Restoring the look of surfaces
- Protecting materials for long-term use
Every part of your car interior reacts differently. Fabric holds dirt inside. Leather can dry and crack. Plastic surfaces lose their shine. That is why one cleaning method does not work for everything.
Why Interior Detailing Matters
Ignoring your car interior for too long leads to more than just a messy look.
- Dust and allergens can affect your breathing
- Stains become harder to remove over time
- Odors settle deep into fabrics
- Surfaces start to fade or wear out
Regular cleaning prevents these problems early. It also keeps your car in better condition if you ever decide to sell it.
Tools You Will Need
You do not need anything complicated, but using the right tools makes the job much easier.
Essentials
- Vacuum cleaner with small attachments
- Microfiber cloths
- Soft brushes
- Interior cleaner
- Glass cleaner
- Upholstery cleaner or leather conditioner
Optional but useful
- Compressed air for vents
- Steam cleaner
- Carpet extractor
Good tools do not just save time. They also reduce the risk of damaging surfaces.
How to Detail a Car at Home Step by Step
Step 1: Remove Everything
Start by taking out all trash and personal items. Check under the seats, inside storage areas, and door pockets.
It may seem simple, but this step makes everything else easier.
Step 2: Vacuum Properly
Before using any liquid cleaner, remove loose dirt.
Focus on areas like:
- Floor mats
- Seat gaps
- Corners and edges
- Under the seats
Take your time here. A good vacuum job makes the rest of the process much more effective.
Step 3: Clean Floor Mats
Remove the mats from the car.
- Rubber mats can be washed and scrubbed
- Fabric mats should be vacuumed and spot cleaned
Let them dry fully before putting them back.
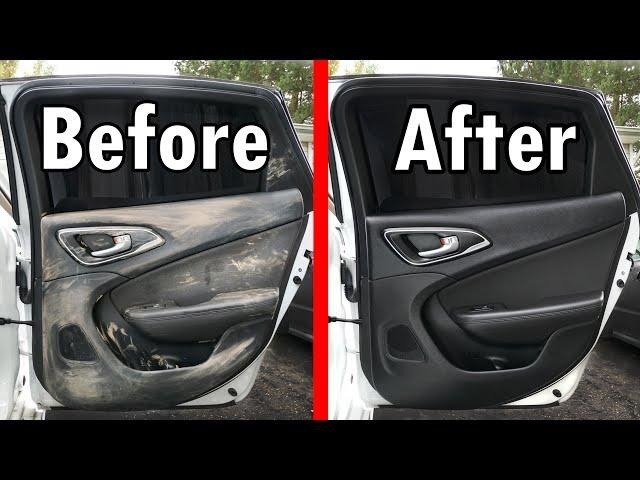
Step 4: Wipe Down Hard Surfaces
Use a microfiber cloth with a gentle cleaner to clean the dashboard, doors, and center console.
A simple tip that helps a lot is to spray the cleaner on the cloth instead of directly on the surface. This prevents damage, especially around electronics.
Step 5: Clean the Seats
Different materials need different approaches.
Fabric seats
Use an upholstery cleaner and gently brush the surface. Do not soak the fabric.
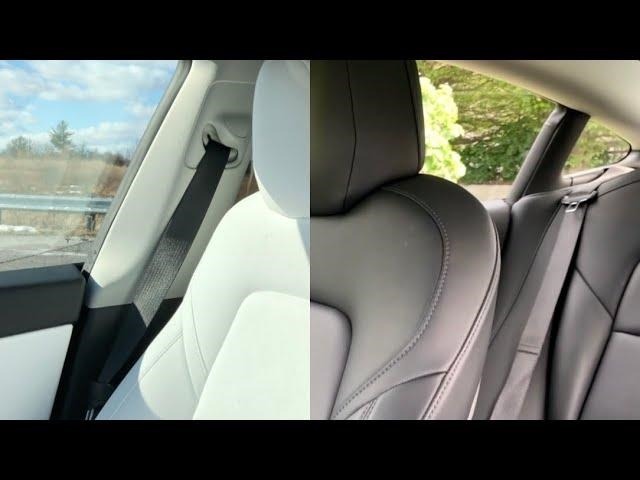
Leather seats
Use a proper leather cleaner and follow it with a conditioner. This keeps the leather soft and prevents cracks.
Step 6: Clean Small Details
Dust builds up in places people often ignore.
Use a soft brush or compressed air to clean:
- Air vents
- Buttons
- Tight corners
These small details make a big difference in the final result.
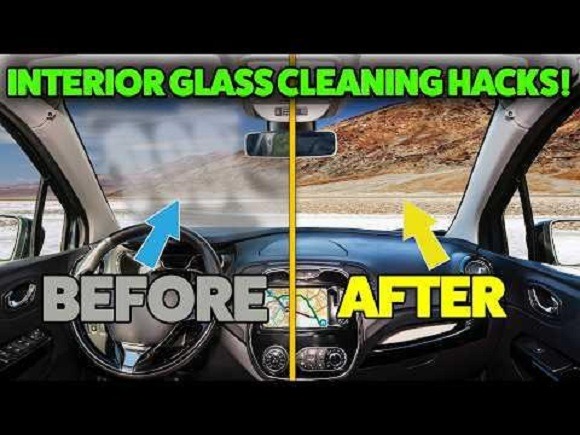
Step 7: Clean the Glass
Use a good glass cleaner and a clean cloth.
Wipe in circular motions first, then finish with straight strokes to avoid streaks.
Step 8: Remove Odors Properly
Do not rely only on air fresheners.
Instead:
- Clean all fabric surfaces properly
- Use baking soda to absorb smells
- Make sure everything dries completely
A clean car should smell neutral, not artificially scented.
A Real Life Example
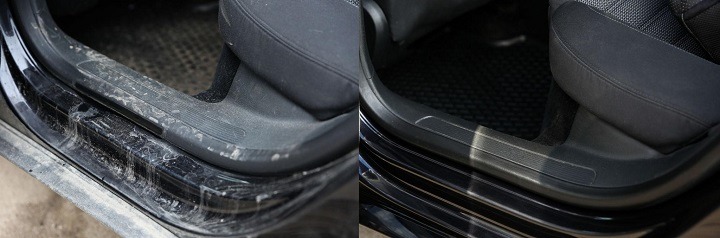
One car owner in the US used their vehicle daily for work and family trips. Over time, the interior became messy, with stains and a noticeable smell.
Instead of going straight to a professional service, they decided to try cleaning it themselves. By following a structured process and using the right products, they managed to restore most of the interior.
While learning, they also explored practical examples from via Detail Gears to better understand how different materials should be handled.
In the end, the car looked better, and more importantly, they understood how to maintain it going forward.
Common Mistakes to Avoid
- Using too much cleaner
- Not allowing surfaces to dry properly
- Using rough brushes that damage materials
- Skipping regular cleaning
Small mistakes like these can ruin your results.
Best Practices
- Always start with dry cleaning before using liquids
- Work one section at a time
- Use the right product for each material
- Maintain a simple routine instead of waiting too long
Consistency matters more than doing everything perfectly once.
Safety Tips
- Keep doors open for ventilation
- Do not mix different chemicals
- Test products before full use
- Be careful around electronic parts
FAQs
How long does it take?
Usually between 2 and 5 hours
Do I need professional tools?
No basic tools are enough
How often should I clean?
Every few months, depending on use
How to remove tough stains?
Use a proper cleaner and gentle brushing
Is it safe for all cars?
Yes, if the correct products are used
Conclusion
Learning how to detail a car at home is not difficult once you understand the process. It is more about patience and consistency than skill.
A clean interior improves comfort, protects your car, and makes every drive feel better. Start simple, follow the steps, and you will get better each time.